|
DON'T THROW AWAY THAT SPEED CONTROL |
|
|
|
By Tom Newcity |
|
|
|
DON'T THROW AWAY THAT SPEED CONTROL |
|
|
|
By Tom Newcity |
|
|
|
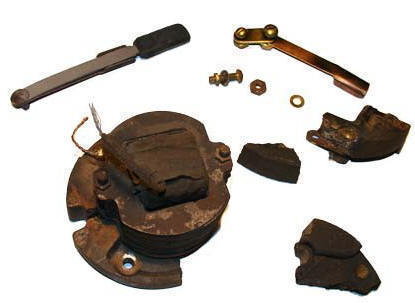
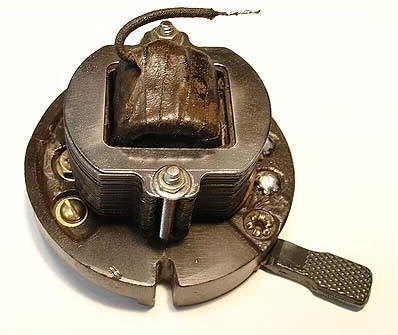
Do you have a speed control base that looks like this one? Don't despair. With very little cost and tools that you probably already have, there is still hope.
I've been using this procedure for many years and it has proven to be a good, long lasting repair. It works on Emersons and GEs and on bakelite and ceramic. This procedure is just for repair of the base, not the coil windings. |
|
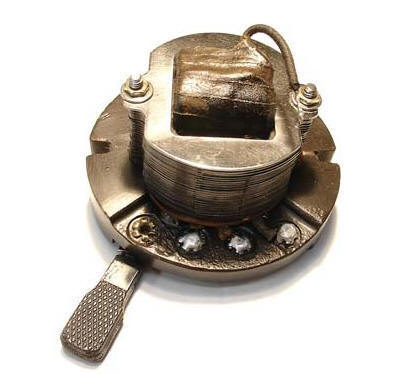
Do you want that speed control to look like this repaired one? Well, let's get busy.
Start by stripping the base pieces of their hardware. Do not however, remove the knife switch unless it is absolutely necessary. The coil assembly removes easily with only two screws and three solder connections. |

|
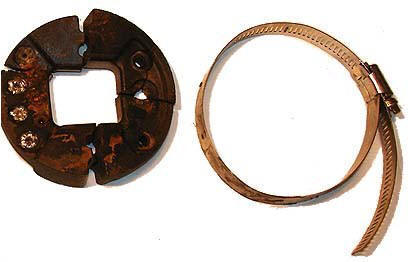
Your stripped speed control base should look like this.
A thorough cleaning is now in order. I prefer TSP (trisodium phosphate). Do not soak bakelite - clean, rinse, and soak in clear water to stop the action.
After cleaning and drying the broken parts, lay them out in the order in which they are to go back together. Press them together to make sure you have the correct mating pieces. |
|
That's right - the clamping device is a 5" diameter hose clamp. Coat its inner surface very lightly with vaseline or any other suitable mold release agent. Place the clamp around the pressed together pieces and tighten it to a point where it just does slip off. Prepare your epoxy. I prefer the regular J.B. Weld as it is the only epoxy I've used on this task. |
|
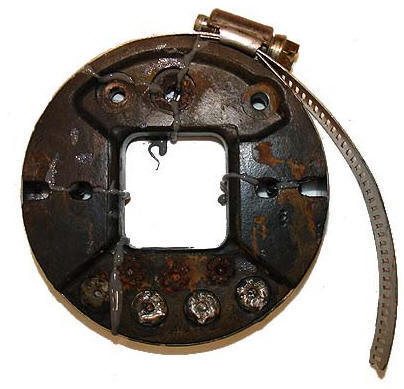
Apply epoxy to each broken mating piece and press together. With all parts pressed together and resting on piece of waxed paper, slip the hose clamp around them and tighten. Wipe and scrape off as much excess as possible. After about 48 hours, remove the hose clamp and go to work with your Dremel tool. |

|
Reassemble your restored speed control and pat yourself on the back for a job well done. |
|
NOTE: If you do have to drill out the knife switch rivet, replace it with a 10-32 X 5/8 brass screw and nut. You can see in the image where I've had to use one. |